
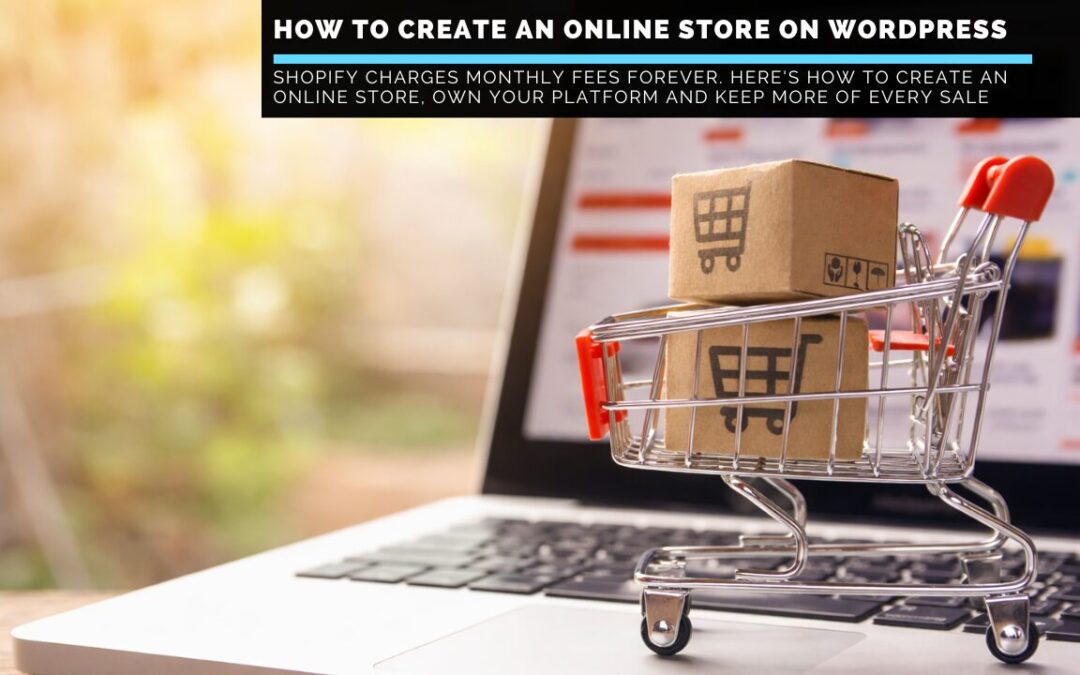
How To Create an Online Store on WordPress (Even Without Tech Skills)
Building an online shop used to mean hiring a developer and spending thousands of dollars before you made a single sale. Indeed, that is no longer the case. Today, anyone with a few hours and a basic grasp of clicking around a dashboard can figure out how to create an online store on WordPress, get products listed and start accepting payments, all without writing a line of code. So, this guide walks you through every step, from choosing your hosting through to welcoming your first customer.
Why WordPress Is the Right Choice for Your Online Store
There are plenty of platforms competing for your attention. Shopify, BigCommerce and Squarespace all make the process of building a store look appealing. Unfortunately, they all share one significant disadvantage. You are paying them a monthly fee indefinitely and, in many cases, a percentage of every sale you make.
However, WordPress works differently. The software itself is free. Your online store sits on your own server.
You own the platform, the content and the customer data. Nobody takes a cut of your sales beyond the standard payment processing fee.
Specifically, WooCommerce is the free plugin that adds shop functionality to WordPress and powers roughly 23% of all e-commerce websites globally. It is used by independent creators, small businesses and large retailers alike. Furthermore, it scales with you. A store you build today on WooCommerce can handle ten orders a month or ten thousand.
Furthermore, WordPress gives you access to thousands of themes and plugins. Whatever you need your store to do, there is almost certainly a way to make it happen. Custom checkout flows, subscription products, digital downloads and membership areas are all achievable without touching any code.

If you are ready to take the first step, visit my Get Started Here page and find out exactly how to build an online business that grows over time.
What You Need Before You Start
Before installing anything, there are three things to sort out.
A Domain Name
Your domain name is your store’s address on the internet. It should be short, memorable and relevant to what you sell. Avoid numbers and hyphens wherever possible since they create confusion when people try to recall or share your address.
Specifically, domain names typically cost around $12 to $15 per year. Many hosting providers include a free domain for the first year when you purchase a hosting plan.
Web Hosting
Hosting is the server space where your website lives. For a new store, shared hosting is the most affordable starting point. Plans typically cost between $3 and $10 per month. Providers like SiteGround, Bluehost and Hostinger all offer plans specifically optimised for WordPress and WooCommerce.
Specifically, look for hosting that includes an SSL certificate. SSL encrypts the data customers send through your checkout, including card details. Browsers display a padlock icon on SSL-secured sites. Indeed, shoppers notice its absence, and many will leave without buying if it is missing.
A Self-Hosted WordPress Installation
You need WordPress.org, not WordPress.com. The hosted version at WordPress.com restricts the plugins you can install. Without that freedom, you cannot add WooCommerce or most other e-commerce tools. Specifically, self-hosted WordPress requires your own hosting account, which is exactly what you have already sorted in the step above.
Most hosting providers include a one-click WordPress installer in their dashboard. In fact, the setup takes about five minutes.

Step 1: Install WooCommerce
Once your WordPress site is live, the next step is to install WooCommerce. In your WordPress dashboard, go to Plugins and then click Add New. Search for WooCommerce in the search bar.
The plugin will appear at the top of the results. Click Install Now and then Activate.
After activation, WooCommerce launches a setup wizard automatically. So, do not skip this. The wizard walks you through the most important initial settings and creates several key pages for you, including your shop page, cart page and checkout page. Indeed, these are essential and recreating them manually would take far longer.
So, work through the wizard carefully. You will be asked for your store’s location, the currency you want to use and the types of products you plan to sell. Your answers help WooCommerce configure the right settings from the outset.
Step 2: Choose a Theme for Your Store
Your theme controls how your store looks. Fortunately, you do not need to spend money on a theme to launch a professional-looking store.
The free Astra and Kadence themes are both lightweight, fast-loading and highly compatible with WooCommerce. They offer clean layouts that work well for product pages, category pages and the checkout process. Both have starter templates that let you import a ready-made store design in a few clicks.
If you already use a page builder like Divi on your existing WordPress site, it works well with WooCommerce too. In practice, the important thing is to choose a theme that loads quickly. Page speed affects both your search ranking and your conversion rate. A slow store loses sales.
Importantly, whichever theme you choose, test it on a mobile device before you add your first product. In fact, over 60% of online shopping now happens on mobile. In fact, if your store is difficult to use on a phone, you will lose a large proportion of your potential customers before they even reach your product pages.
If you are ready to take the first step, visit my Get Started Here page and find out exactly how to build an online business that grows over time.
Step 3: Add Your Products
So, with WooCommerce active and your theme in place, it is time to add products. In your WordPress dashboard, go to Products and then click Add New.
Every product needs four things to function well.
A clear title. Your product title should describe what the item is in plain language. It should also include the keywords that people are likely to search for when looking for that product. Indeed, this matters for both the usability of your store and its visibility in search engines.
A compelling description. The main description sits below the title. Use it to explain what the product does, who it is for and why it is worth buying. Write for the reader, not for search engines. In fact, a genuine, helpful description converts better than one stuffed with keywords.

High-quality images. Product images are one of the most powerful conversion tools available to you. Use clear, well-lit photos that show the product accurately. Add multiple images where possible to show the item from different angles or in use. Specifically, WooCommerce supports a main product image and a gallery.
Pricing and inventory settings. Scroll down to the Product Data section. Set your regular price. If you want to run a sale, set a sale price with the dates it applies. Under the Inventory tab, add a SKU if you use one and enable stock management if you want WooCommerce to track your inventory automatically.
For digital products like ebooks, templates or software, tick the Virtual and Downloadable options in the Product Data panel. This removes the shipping options from the checkout for those products and allows customers to download their purchase immediately after payment.
Step 4: Configure Your Payment Settings
Before you can take any money, you need to connect a payment gateway. WooCommerce supports a wide range of options, including Stripe, PayPal and its own WooPayments service.
Specifically, Stripe is generally the best experience for customers since payment stays on your site throughout the transaction. The shopper never leaves to log in to a separate account. Standard Stripe fees are 2.9% plus 30 cents per transaction.
PayPal is worth enabling as an alternative since many shoppers prefer it and already have their card details saved. In fact, having both Stripe and PayPal available typically increases conversion rates compared to offering only one option.
To set up your payment gateways, go to WooCommerce, then Settings, then the Payments tab. Toggle on the gateways you want to use and click the Set Up button next to each one. Follow the prompts to connect your accounts.
Step 5: Set Up Shipping
Indeed, if you are selling physical products, shipping configuration is essential. WooCommerce lets you create shipping zones, which are geographic regions, and then assign different rates and methods to each zone.
In your WooCommerce settings, go to the Shipping tab. Create your first zone by clicking Add Shipping Zone. Name it, select the regions it covers and then add a shipping method. The three basic options are flat rate, free shipping and local pickup.
So, flat rate shipping is the simplest to start with. Set a rate that covers your average shipping cost without overcharging customers on small orders. Many store owners find a rate between $4.99 and $8.99 works well for domestic orders, depending on their product weight and carrier.
Free shipping is a powerful conversion tool. Offering free shipping on orders above a certain threshold, such as $50, encourages customers to add more to their basket. However, if you offer this, factor the shipping cost into your product pricing or minimum order value.
For digital products, no shipping configuration is needed.

If you are ready to take the first step, visit my Get Started Here page and find out exactly how to build an online business that grows over time.
Step 6: Configure Taxes
Unfortunately, taxes are one of the areas new store owners often overlook until it becomes a problem. WooCommerce has built-in tax settings that you should configure before you make your first sale.
Go to WooCommerce, then Settings, then the General tab, and make sure Enable Taxes is ticked. Then navigate to the Tax tab. Here you can set your tax rates based on where your business is registered and where your customers are located.
US-based sellers generally need to charge sales tax in states where they have a tax nexus, typically the state where the business is registered. Tax rules vary significantly by state. So, for a new store, the simplest approach is to start with the basics and consult a tax professional as your sales grow.
Furthermore, WooCommerce also integrates with automated tax tools like TaxJar and Avalara for sellers with more complex requirements.
Step 7: Customise Your Store Pages
WooCommerce automatically creates a Shop page, a Cart page, a Checkout page and a My Account page during setup. These pages are functional out of the box, but they benefit from some attention.
Specifically, your Shop page is where all your products are listed. So, check that it displays correctly with your theme. Make sure product images are showing at the right size. Ensure the layout is clean and easy to browse on both desktop and mobile.
Indeed, your Checkout page is the most critical page on your entire store. Every unnecessary element on this page is a potential distraction that could cost you a sale. So, keep it clean. Remove anything that does not directly support the customer completing their purchase.
Furthermore, your My Account page allows returning customers to view their order history and manage their account details. Make sure the login and registration process is straightforward. Indeed, a frustrating account setup experience causes customers to abandon their cart.

Step 8: Install Essential Plugins
Indeed, WooCommerce handles the core e-commerce functionality, but several additional plugins are worth adding to a new store.
A caching plugin. Indeed, page speed matters enormously for e-commerce. A caching plugin like WP Rocket or the free W3 Total Cache plugin can significantly improve your store’s loading time. Faster pages lead to better search rankings and higher conversion rates.
A security plugin. Your store handles financial transactions and customer data. A security plugin like Wordfence adds a firewall, malware scanning and login protection. Indeed, these are sensible precautions for any site that processes payments.
A backup plugin. UpdraftPlus is the most widely used backup plugin for WordPress. Specifically, schedule automatic daily backups that store copies of your site offsite, such as in Google Drive or Dropbox. If something goes wrong, a recent backup can save your business.
An SEO plugin. Yoast SEO or Rank Math helps you optimise your product pages and category pages for search engines. Indeed, both plugins guide you through the key on-page factors for each page and product you publish.
Step 9: Set Up Your Essential Store Pages
Furthermore, beyond the pages WooCommerce creates automatically, your store needs a few more pages to build customer trust and comply with legal requirements.
An About page. Indeed, people buy from people they trust. A genuine About page that explains who you are, why you started the store and what makes your products worth buying builds the kind of trust that converts visitors into customers.
A Contact page. Customers need to be able to reach you. A visible contact page reduces purchase anxiety. It signals that you are a real business with real accountability.
A Returns and Refund Policy page. In fact, this is both a legal requirement in most US states and a powerful conversion tool. In fact, customers are more likely to complete a purchase if they know the returns process is clear and fair.
A Privacy Policy page. If your store collects any customer data, including email addresses or payment details, you are legally required to have a Privacy Policy. WordPress includes a privacy policy generator under Settings and then Privacy.
If you are ready to take the first step, visit my Get Started Here page and find out exactly how to build an online business that grows over time.
Step 10: Test Everything Before You Launch
So, do not announce your store until you have tested the entire purchase process from a customer’s perspective.
So, create a test product priced at $0.01 or use WooCommerce’s built-in test mode for payment gateways. Add the product to your cart, proceed to checkout and complete the purchase using a real payment method. Then log in to your WooCommerce dashboard and check that the order appeared correctly.
During your test, pay attention to the following. Does the checkout page load cleanly on mobile? Is the confirmation email being sent?
Does the product download work if you are selling digital items? Are the shipping options appearing correctly for different locations?
So, fix anything that does not work before your store goes live. First impressions matter. Indeed, a poor purchase experience on day one creates refund requests and negative word of mouth that is hard to recover from.
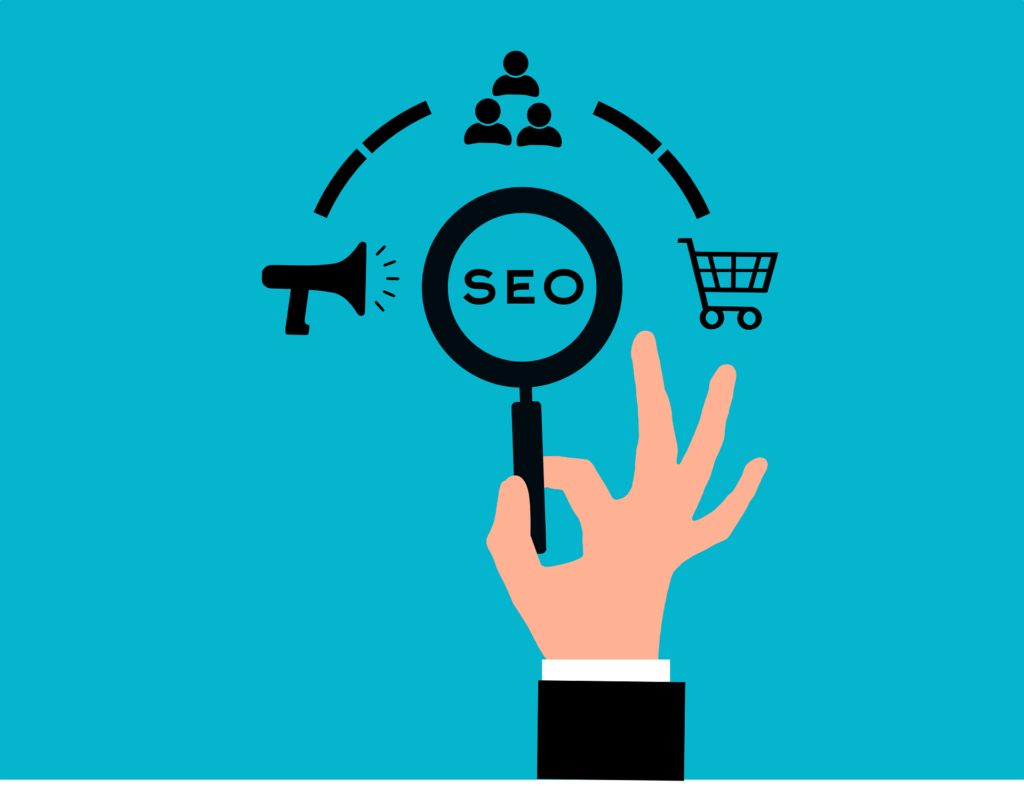
How to Drive Traffic to Your New WordPress Store
However, getting your store live is just the beginning. Without traffic, even the best-designed store earns nothing. Fortunately, there are several reliable ways to attract your first customers.
Search Engine Optimisation
Indeed, SEO is the most sustainable long-term traffic source for a WordPress store. Optimise each product page with a clear title tag, a well-written meta description and a product description that answers the questions customers are likely to have.
Unfortunately, category pages are often overlooked but can rank well for broader search terms. Write a short introductory paragraph for each category page that explains what is in that section. This gives search engines context and helps customers navigate.
For a practical guide on how to use WooCommerce from installation through to first sale, WPBeginner’s complete WooCommerce tutorial is one of the most thorough free resources available.
Content Marketing
A blog alongside your store creates content that attracts the kind of people who are interested in your products. Indeed, writing useful, informative posts about topics related to what you sell brings in organic traffic and establishes your expertise.
For example, a store selling kitchen equipment could publish recipes, cooking guides and product comparisons. In fact, each piece of content is a potential entry point for a new customer. Over time, that content compounds and drives consistent traffic without paid advertising.
Specifically, Pinterest is a visual search engine with a strong buyer intent. Users come to Pinterest actively looking for products and ideas. Pins linking to your product pages or to blog content related to your products can drive meaningful traffic for months after they are posted.
Email Marketing
So, start building an email list from your first sale. Offer a discount code or a useful free resource in exchange for an email sign-up. A well-maintained email list allows you to promote new products, run sales and bring customers back to your store without depending on any external platform.
If you are ready to take the first step, visit my Get Started Here page and find out exactly how to build an online business that grows over time.
How Much Does a WordPress Store Cost to Run?
Indeed, one of the biggest misconceptions about WordPress stores is that they are completely free. However, WooCommerce itself is free, but there are unavoidable costs to running a real store.
Shared hosting costs around $36 to $120 per year, depending on the provider and plan. A domain name costs around $12 to $15 per year. A premium theme, if you choose one, costs between $50 and $100 as a one-off payment or on an annual licence. A basic plugin stack adds perhaps $50 to $100 per year.
In total, a functional WordPress store with WooCommerce can run for $100 to $250 per year. Compare that to Shopify’s basic plan at $39 per month, which adds up to $468 per year before any app or transaction fees. Indeed, the cost advantage of WordPress becomes very clear very quickly.
For a comprehensive breakdown of what a WooCommerce setup requires, Kinsta’s WooCommerce tutorial covers the full process in detail.

Common Mistakes to Avoid
Unfortunately, most new store owners run into the same handful of issues. Knowing about them in advance saves real time and money.
Choosing a Slow Theme
A heavily stylised theme with animations, sliders and complex layouts might look impressive in a demo. In fact, it can cripple your page speed. Stick with a lightweight, well-coded theme that has been optimised for WooCommerce. Indeed, your conversion rate will thank you.
Skipping the Mobile Test
As mentioned earlier, most online shopping now happens on mobile devices. In fact, a store that looks fine on a desktop but is difficult to navigate on a phone is losing sales constantly. Test every page on your phone before and after launch.
Ignoring Product Photography
Poor product images are one of the most common reasons customers do not buy. In practice, you do not need a professional photographer, but you do need clear, well-lit photos. In fact, a simple lightbox kit and a smartphone with a decent camera are enough to produce images that sell.
Not Setting Up an SSL Certificate
Indeed, an SSL certificate is non-negotiable for any store that takes payments. Most hosting providers include one free of charge. Make sure it is active and that your site loads on https rather than http before you accept any orders.
Launching Without a Returns Policy
Customers are significantly more likely to buy from a store that has a clear, fair returns policy. In fact, publishing your policy prominently reduces purchase anxiety and almost always increases sales.

Ready to Start Building Your Online Business?
Setting up an online store is a big and exciting step. However, knowing how to create an online store on WordPress is only one part of building a successful online business. The marketing strategy, the content and the audience you build around your store matter just as much.
Visit my Get Started Here page for a practical walkthrough on how I am building an online income from scratch, the tools I use and the exact steps I recommend for getting started without overspending.
Final Thoughts
The barrier to selling online has never been lower. You can have a fully functional, professionally designed store live within a single afternoon using free software on affordable hosting.
The tools are available. The knowledge is accessible. All that remains is to act on it.
Knowing how to create an online store on WordPress puts you in control of your business in a way that hosted platforms simply do not allow. You own the platform, the products and the relationship with every customer you serve. Indeed, that ownership compounds over time in ways that renting space on someone else’s platform never can.
Start with the basics. Get your domain, your hosting and WooCommerce in place. Add your first products and set up your payments.
Test everything. Then focus on driving traffic and building an audience. Indeed, every part of this process is learnable, and none of it requires a technical background.
For official documentation and step-by-step guides directly from the WooCommerce team, the WooCommerce getting started documentation is a reliable and regularly updated resource.
If you are ready to take the first step, visit my Get Started Here page and find out exactly how to build an online business that grows over time.
Affiliate Disclosure: This post contains affiliate links. I may earn a commission if you sign up through my links, at no additional cost to you. I only recommend tools and platforms I genuinely believe offer value to my readers.